Excel Template Creation
Excel files should be templated in order to define the basic location and orientation of their header, footer and data. upon opening the template creator the user will be prompted to select the excel file they wish to template
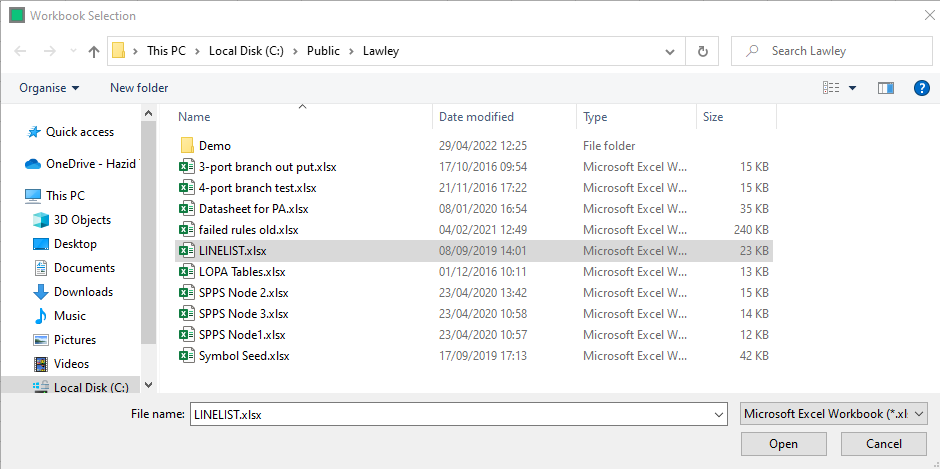
After selecting and opening a workbook, the template creator opens.
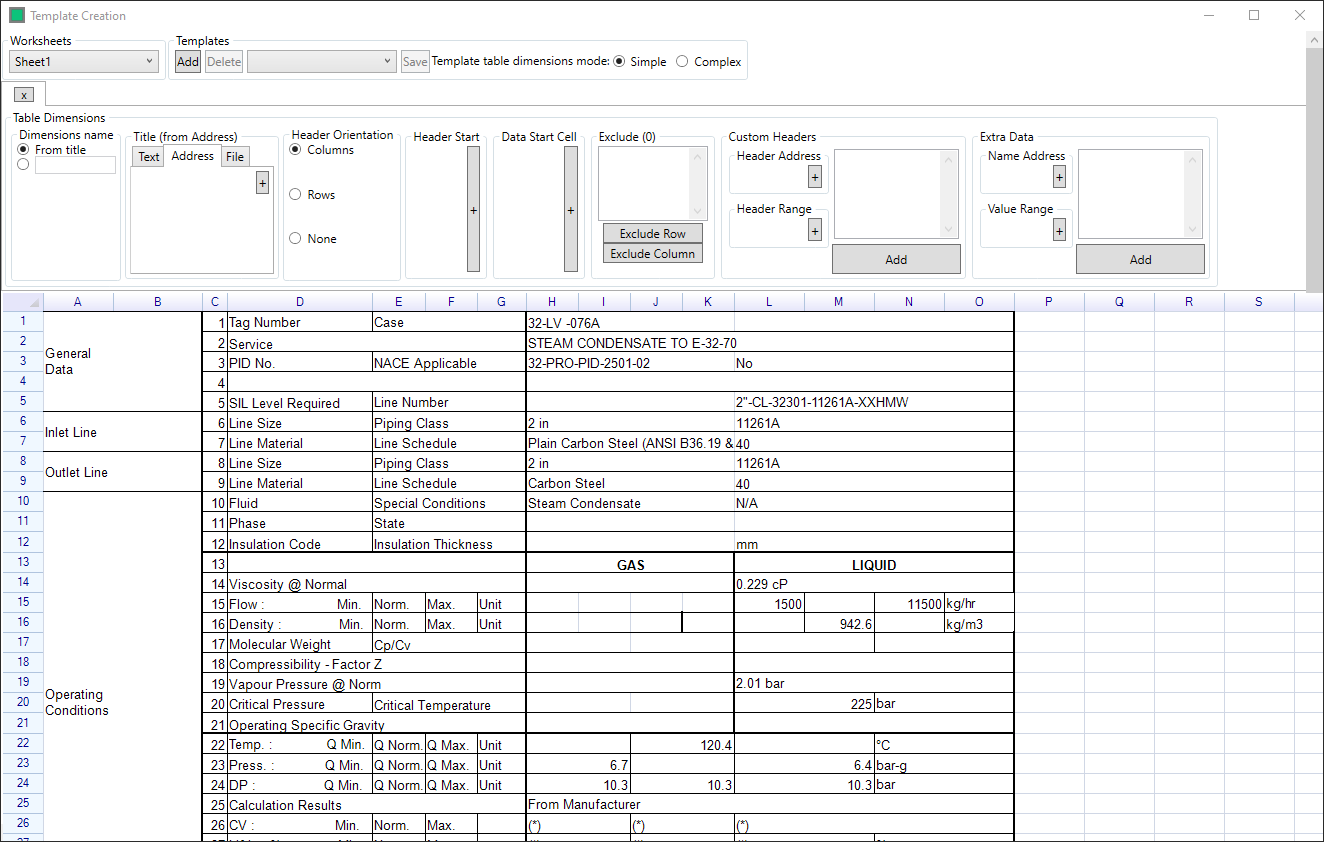
Some Excel workbooks have multiple sheets present. There are two methods that can be used to select which worksheet to base the template on:
![]() Select from the dropdown menu in the top left corner Template Creation form, or
Select from the dropdown menu in the top left corner Template Creation form, or
![]() Select the correct tab at the bottom of the Template Creation form
Select the correct tab at the bottom of the Template Creation form
Then, set the Template Type to simple or complex using the radio buttons:

- Simple - Data is assumed to end in the last cell containing data, i.e the template creation will stop at the first blank cell
- Complex - Enables selection of the Data End Cell (The option will appear in Table Dimensions)
The Table Dimensions are then input in order to define the format of the Template, dimension selections are made by slecting the cell(s) and clicking on the + button, except in the case of the Custom Headers and Extra Data panels, in these the + buttons build a selection which is then added to the list with the Add button.

- Dimensions Name - Enables the user to use the Table title as the tab name, or to specify a tab name manually
- Title - Defines the title of the template (User entered text/theinformation in a specified cell/a filename)
- Header Orientation - If the data has headers, select if they are arranged in rows or columns. If there is no header, select None
- Header Start - Select the first cell containing a header and click +
- Data Start Cell - Select the first cell containing data and click +
- Data End Cell - Optional in Complex Tables -
- Exclude - Select any rows or columns to be excluded (you can select multiple rows/colums)
- Info Blocks - Highlight the Info Block that you want to add and click Add in the Info Block section
- Custom Headers - Highlight the range of headers, and click + in the Header Address and Header Range sections, then click Add
- Extra Data - Highlight the range containing the extra data, click + in the Name Address and Value Range sections, then click Add
Templates can consist of as many tabbed templates as you require to convert an entire workbook, tabs are added with the + button

To save the template, the template must first be added

This opens the Template save form

Clicking ![]() creates the Template, and
creates the Template, and ![]() returns to the editor.
returns to the editor.
Note that a template must have the following elements befor it can be saved: "Header Start", "Data Start Cell" and (if complex template tables dimension mode is selected) "Data End Cell"
Once the template or templates are defined, clicking save will save the template

The window is closed via the "x" button in the top right.