Properties
Create & Manage Properties
In the Hazid application, properties are defined data points which are used to hold structured information related to a piece of equipment. When a document is first imported all the data points are static “attributes.” These attributes are stored in the document rather than the database. To convert attributes to properties The properties must be defined in the Property Editor.
To access the Property Editor, open the Knowledge Bank and from the top of the model tree right click and select Property Editor
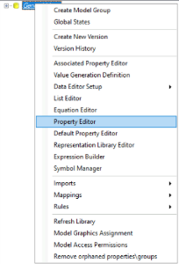
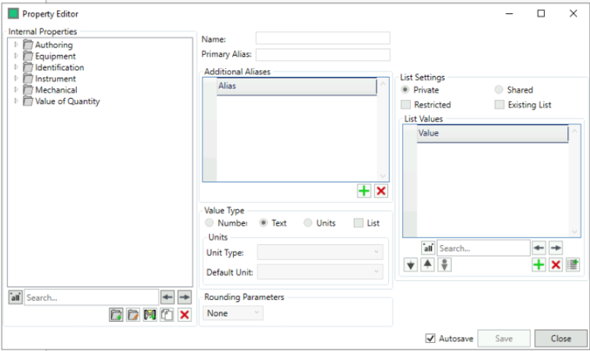
This will open the Property Editor Window.
Create Group
Select the level of the tree to add the group. Click the Create Property Group button  . Type in the name and click OK.

This will add an empty group in the location previously highlighted when you created the new group, if no group is highlighted then a new group will be made at the highest level in the property tree.
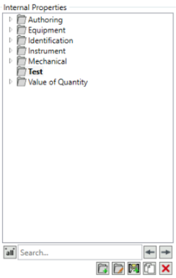
To edit a group, click on the “Edit Property Group”  button, the next step prompts to update the group name.

Create Property
Select the group where Property is to be created, click on create property  . Type the Property name and click OK.

This will create a blank property, This is where the definitions can be populated for the property such as “Value Type” and aliases.
Primary Alias
When creating a new property, a name and a primary alias need to be defined. The name field is intended as a human readable value, and the “Primary Alias” is used by the system; this value is recommended not to have spaces.

Additional Aliases
As mentioned at the start of this “How To” when a document is first imported, all the data is designated as attributes, if the attribute name matches the property name, then this data point will automatically be converted.
Variation in naming conventions can lead to data points being missed or create an overly complex property tree, to rectify this problem, assign additional aliases to a property so if any of these names match then the attribute will be converted to the same property.

In this example these 3 attribute names will be assigned to the property “Pressure Test”. A further example would be DiameterNominal and NominalDiameter.
Value Type
The type of data for the property are most commonly number and text. In some cases properties require a defined Unit (e.g. diameters, lengths, pressure, flow etc…)
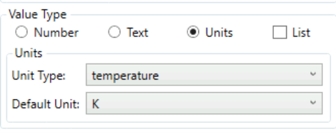
Select the Unit Radio button, The appropriate Unit types can then be selected from the drop-down menu
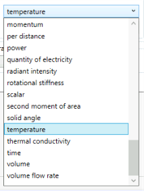

List Settings
Some properties have a list of acceptable values, this is set by enabling the “List” option in the Value Type and then setting the values in the “List Values” s option.
Lists are created as “Private” lists on a single property by default.
The “Restricted” checkbox disables free text from the property, limiting the user to only being able to select one of the values in the list.
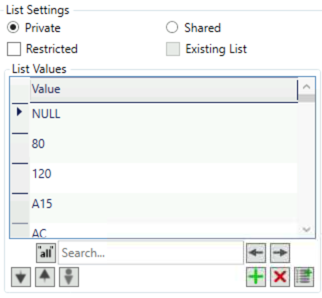
New codes would be added by clicking the add Item button  .
.
This will add a blank field at the bottom where you can click and enter the new attribute name.
To delete, Select the entry and hit the delete button  .
.
If a list is to be used across multiple properties, we can enable the “Shared” radio button and define the name of the property list, checking the “Existing List” option will allow us to select a pre-existing list.
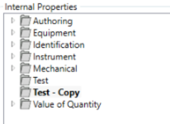
Copy Group/Property
Clicking on Copy Property/Property Group button  .
.
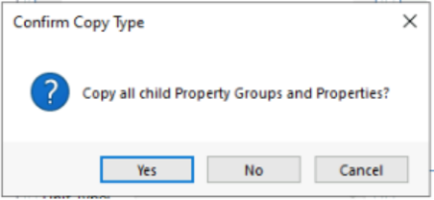
Clicking Yes will Copy the selected Property/Group.
Delete Group/Property
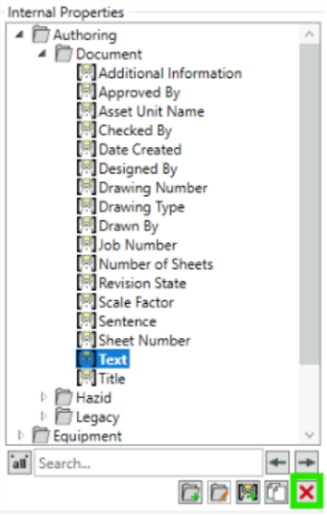
Select the Property or Group to be deleted, and press the delete button .