Manage Property Access
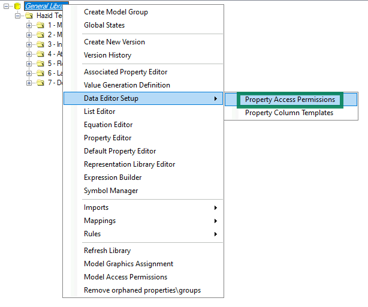
Each property can be set to only be visible or editable to certain users or departments in the Data Editor. When a new property is created, the permissions must be updated so that it can be used in the Data Editor. The property permissions are accessed through the model library, from the right-click menu and “Data Editor Setup”:
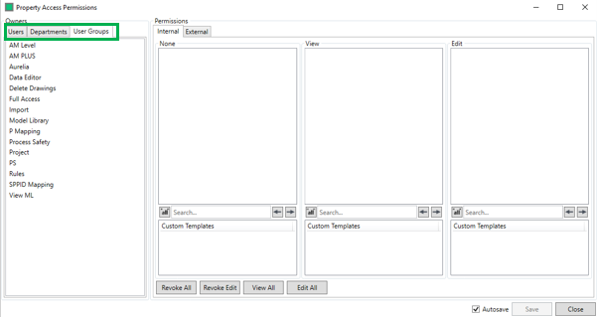
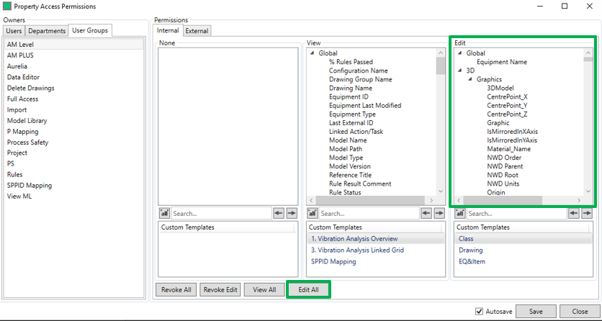
This brings up the Property Access Permissions window. First, select the Users, Departments or User Groups tab for the level you wish to apply permissions to. The user profiles and which departments and groups they belong to are defined in Admin tools. Property permissions are additive from each source.
Selecting a user/department/group from the list will load the property lists:
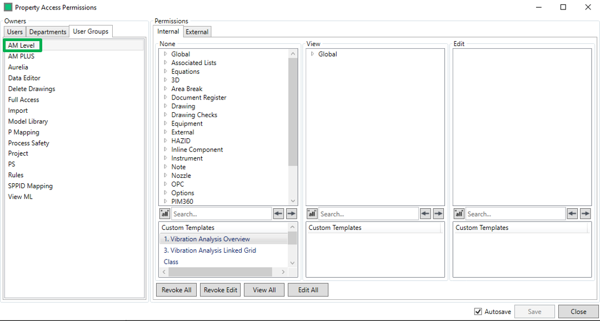
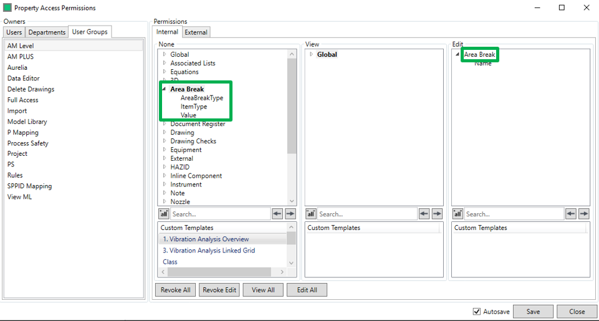
Properties listed under “None” will not be visible to the user in Data Editor. Properties under “View” can be viewed but not edited, this includes system properties that are always read-only, whereas properties under “Edit” can be written into by the user in Data Editor.
To assign the permission level of a property, click and drag it from one column to another:
Custom column templates can also be assigned in the “Custom Templates” lists below the property lists.
Alternatively, the “Revoke All”, “Revoke Edit”, “View All” and “Edit All” buttons can be used to apply each permission level to all properties:
When you have finished assigning permissions, click “Save” and “Close”.