Saved Property Filters
For workflows that are likely to be repeated, a Property Filter can be used as a preset template to quickly reproduce a property query in Data Editor without having to search manually every time.
Property filters can be created and edited in Project Editor, which is accessed from the launchpad on the right-hand side of the project page in Integrity.
In Project Editor, select “Editors > Property Filter Editor” from the sidebar on the right-hand side.
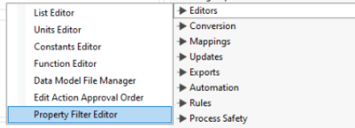
This will open the “Property Filters” window

New filters can be added using the Add button in the bottom left corner of the window. This will open the editor for “Property Filters” that has the same layout as the “Property Filter” in Data Editor.
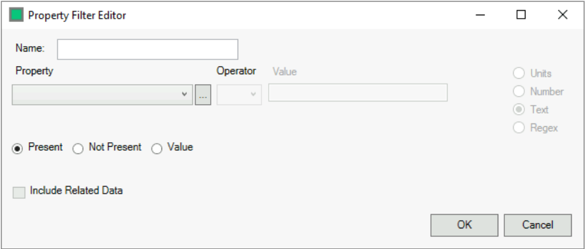
Fill out the form as required , in addition to providing a name for the Saved Filter.
Once the filter has been named and configured as required, click OK in the bottom right to confirm and add to the list of filters.
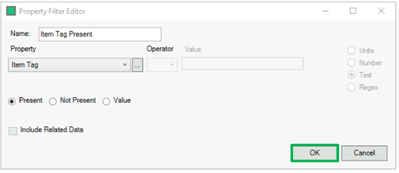
The newly created filter is now listed in the Property Filter Editor window.

Once the filters have been added, click close at bottom right. Ensure auto save is checked. Alternately click save then close.
