Import Excel
Create Data Intermediate
Importing an Excel file is a multi-step process that first requires the Excel to be converted to a Data Intermediate before the data is pushed to the database.
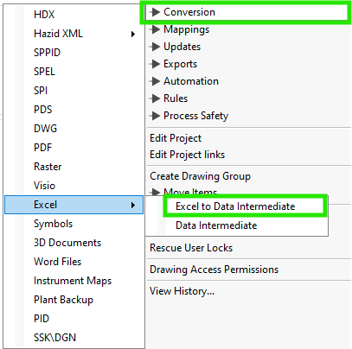
With the top level of the project selected the “Conversion” options become available in the right-hand menu, select “Conversion > Excel > Excel to Data Intermediate” to begin the process.
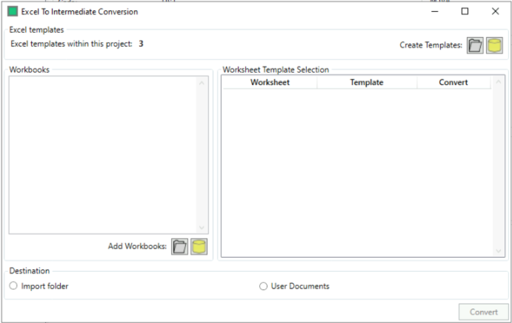
This will open the Data Intermediate conversion window:
File Selection
To begin, choose the Excel to be converted through the Workbooks section:

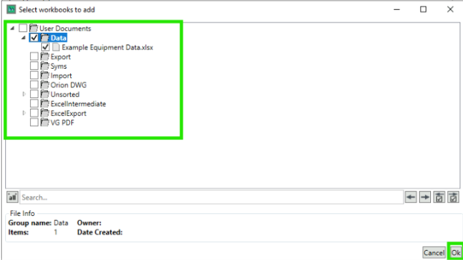
Click on the “From User Documents” Button  and choose the file you want to convert.
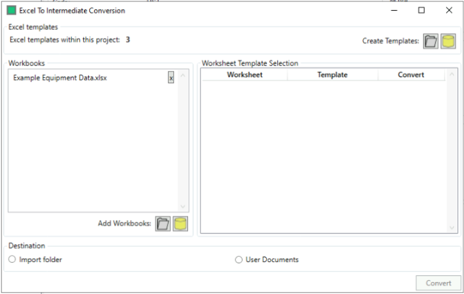
The Conversion window will reflect the added Workbook
Import Templates
The next step is to create the template to process the workbook. You can create the template in the import folder where only you will see it, or in this case, we’ll save it to the User Documents where it can be potentially re-used by co-workers. You can see there are already 3 templates saved in this project.
Select User documents and then Next to Create template click “From User Documents” .
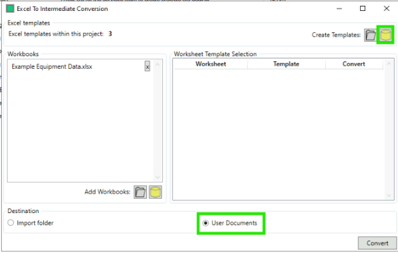
Select the same Excel again as we would like to create the template with that file for reference. Clicking OK will open the Template Creation window with the grid populated from the selected Excel.
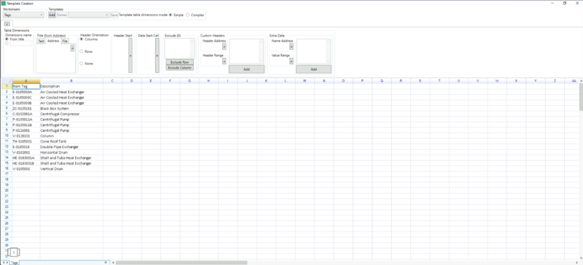
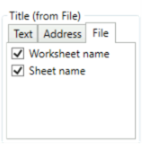
First define how the Data Intermediate title will be generated in this example we will concatenate the Excel file name and the sheet name to create a unique file name.
Next, we define the header orientation for our workbook, in this example our headings are column separated

Next, we need to define the start points for our Headers and our Data to do this select the cell in the grid and then click the “+” button next to the “Header Start” and “Data Start Cell”
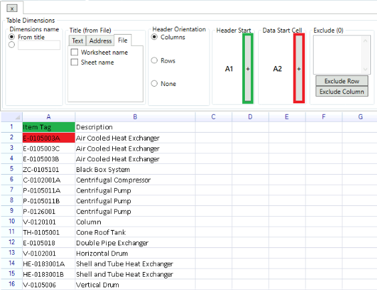
With the basic structure now set, Add the template and save it with an appropriate name.

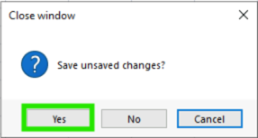
Close the template creation window and save changes when prompted.
Apply Conversion
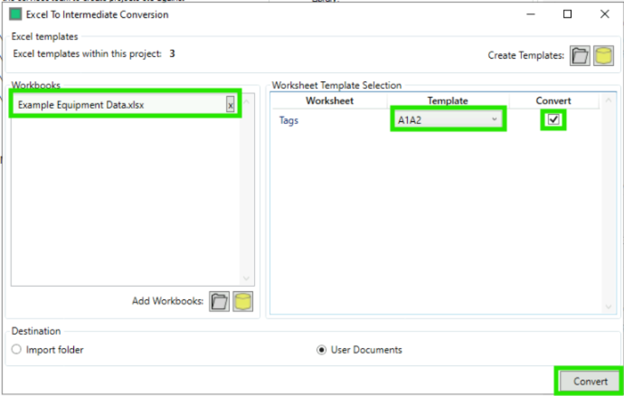
The conversion window should still be active in the background. Highlight the workbook on the left, select the template name from the drop down on the right and check the convert box. Once that’s done click on Convert.
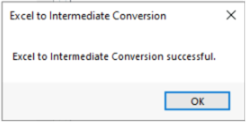
You should get the following dialog.
Import Data Intermediate
With the Excel file converted to a data intermediate this data can now be imported into the projects database, using the convert function in Project Editor.
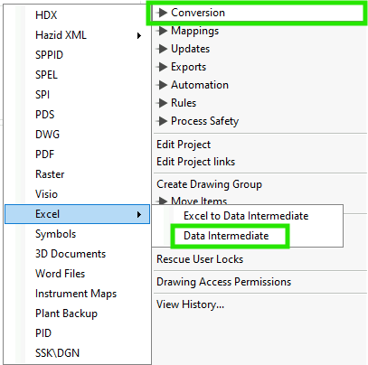
To do this select the top of the project tree and in the right-hand menu select “Conversion > Excel > Data Intermediate.
This will open the “Import Selection” window, as the files are being stored in “User Documents” in this example.
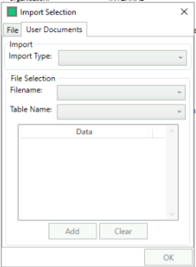
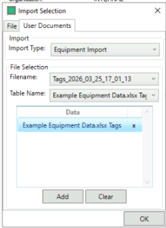
To create a new document choose “Equipment Import” from the import type drop-down menu.
Then select your Data Intermediate in the “Filename” section, you will see the generated filename has the date of creation appended to the end, this is to help identify the correct file.
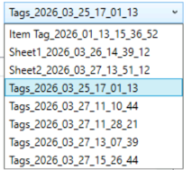
As we only had one sheet in the Excel the “Table Name” dropdown will only have one option to select from. This can get confusing when multiple files have been Imported previously.
Property Mapping
After selecting the import type and file the “Property Mapping” window will open, here the property is defined for each Heading
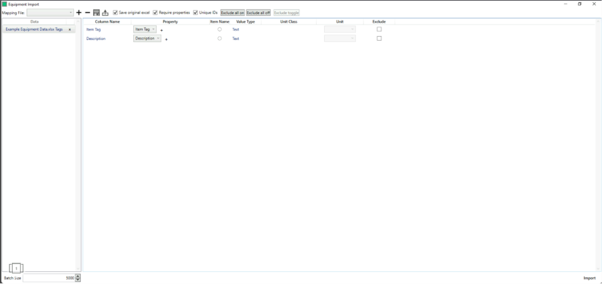
The system will choose the property that best matches the heading name and data type, in this instance we can see that “Item Tag” and “Description” have been assigned to the correct headings already.

If the properties are blank or incorrect they can update them by clicking the  to the right of the property drop-down menu. This will open the property tree where the correct selection for the desired property can be made.
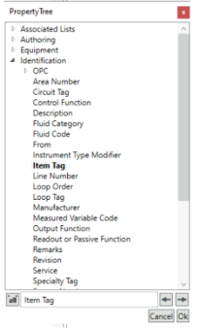
Should you want to exclude certain data points (headings) then enable the “Exclude” checkbox to the far right of the row.
We can set the primary key for item lookup by enableing the "Item Name" option next to the property name.
Returning to the Project Editor we can see the new file created in the Data folder.
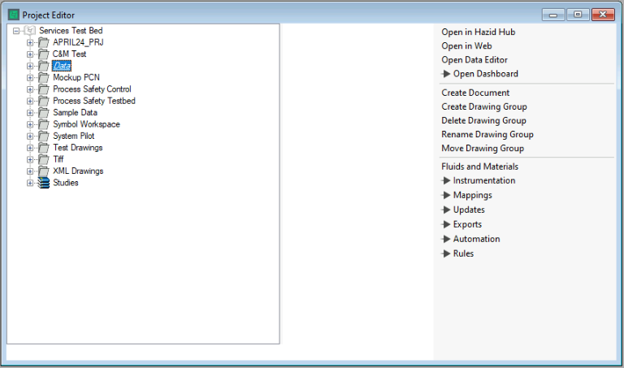
All Excel imports are created as new files in the projects “Data” folder, they can be moved to any other location similar to any other document type.
Property Templates
If we plan on bringing in multiple Excels with the same structure and properties such as Tag lists for each drawing, then we can create a Mapping File that can be quickly applied to any data intermediate.
To do this in the “Property Mapping” window at the top you will see the Mapping File section.

Use the create mapping file  button. Type in a name for the file and click OK
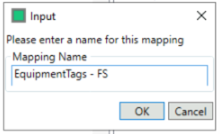
You can now select the mapping file from the drop down

Now any changes made to the property assignments can be saved to the mapping file with the  button.
To apply the property mappings, click the  button and the main grid will update with the previously assigned properties.