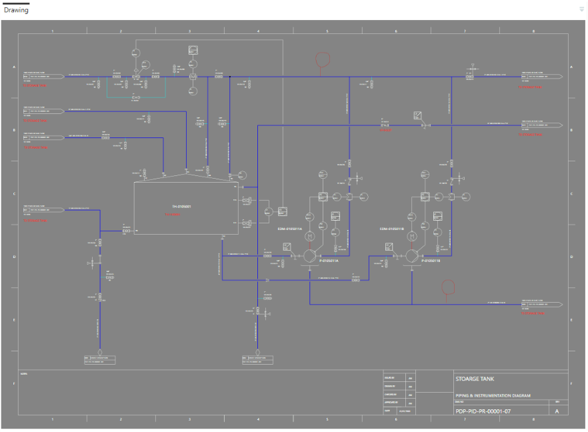
Redline Mode
To open a drawing in Drawing Redline Mode, navigate to the drawing in Integrity and open Drawing Redline from the launchpad.
The drawing will be opened in Redline Mode, with a similar interface to Drawing Editor but with limited features specifically optimized for creating markups of the drawing.
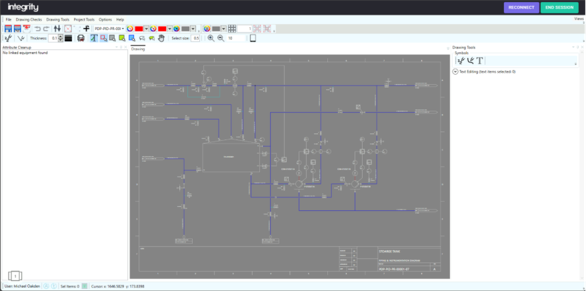
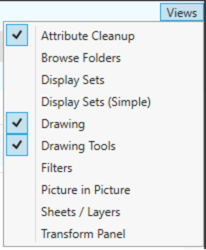
The following views are available in Redline Mode:
Navigation
Navigation in Redline Mode is controlled in the toolbar where we can change what left clicking on the drawing will do, by default left-click is set to select items on the drawing.

With a drawing open in the Redline Mode application, we can move around by right-clicking and dragging or with the “Drag to Move”  button enabled we can left-click and drag.
To zoom in and out we can use the “scroll wheel” on your mouse or enable the “Zoom in/out”  buttons on the toolbar where we can set the amount to zoom and then left clicking on the drawing to zoom in/out that amount.
To select items, we need to ensure that a selection mode is enabled from the toolbar  , we can use either single selection
  (default option) or lasso selection
  to select items, holding the “Shift” key down will allow you to select multiple drawing items.
View Data
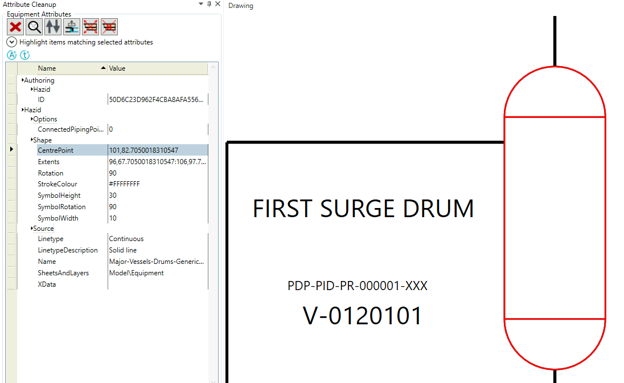
Data is viewed via the Attribute Cleanup panel, which is loaded by clicking “Attribute Cleanup” in the Views panel.
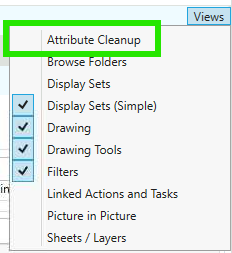
With the panel enabled, selecting an object on the drawing will display the attributes of that object in a read-only view.
Sheets & Layers
To access the Sheets / Layers view in Drawing Redline, click the “Sheets / Layers” in the Views panel.

This will open the “Sheets / Layers” panel allowing any layer on the source document to be disabled or enabled, doing so updates the main drawing view to reflect the layers selected.

Display Sets
Display Sets allow the user to apply graphical transformations (line colour, highlight and line type) to drawing items that contain certain data points and can be applied to individual layers or across multiple layers.
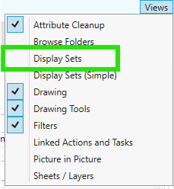
To enable the Display Sets panel in Redline Mode, click the “Display Sets” “Views” Panel.
This will open the “Display Sets” panel here we can enable/disable individual display sets, this also provides access to the “Auto Adapt” functionality which sets all drawings items to a colour that contrasts the background (e.g. black lines on a white background) ignoring the colour defined in the drawing item property or layer. The “Adapt Text” provides the same function but only applies to drawing items that are identified as text.
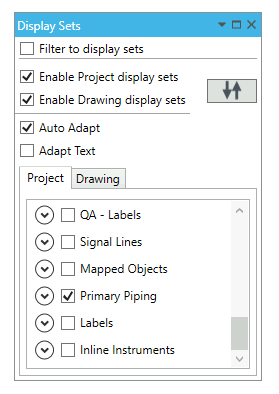
Display Sets are split into 2 types, “Project” display sets are accessible to all drawings/documents within a project whilst “Drawing” display sets are only available in the Drawing they are created in.
Focussing on “Project” display sets, to enable them check the  option and all project display sets will be selectable, choose the display set you would like to enable by selecting it from the list and the drawing will update to the graphical configuration set in the display set.
Drawing Markups
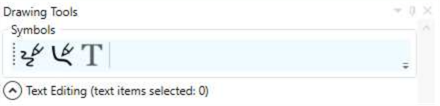
The most common usage of Redline Mode is to mark-up drawings for any details that need to be added or changed. Changes can be marked by adding graphics or text to the drawing using Drawing Tools.
Draw Lines
 With Draw Lines selected, the colour and thickness of lines can be configured under Drawing Options. Lines can also be drawn freehand by checking the
  box.
box.
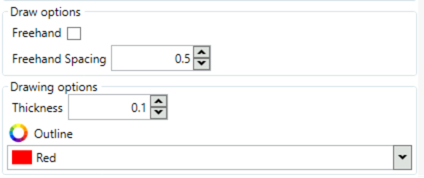
To snap lines to the grid and ensure absolute precision, enable Draw Orthogonal Lines  from the top middle toolbar.
Insert Text
 Insert text at the position of the next left click.
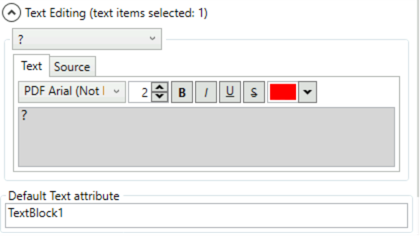
Inserting or selecting text will open Text Editing in the Drawing Tools view, allowing for the text to be customized.
Insert text at the position of the next left click.
Inserting or selecting text will open Text Editing in the Drawing Tools view, allowing for the text to be customized.
Redline Review
Fit Drawing to View  will zoom the view to full-drawing level, allowing for the drawing to be assessed once changes are marked up.