Create Task
Tasks can be created on the web pages inside a project and inside the applications that are opened from the web pages. The method for creating a task varies between the web form and application form, this section will cover both methods.
Web Tasks
From any location within a project in the web application, we can create a new action by clicking the  button.
This will open the create task window where we can define the task information:
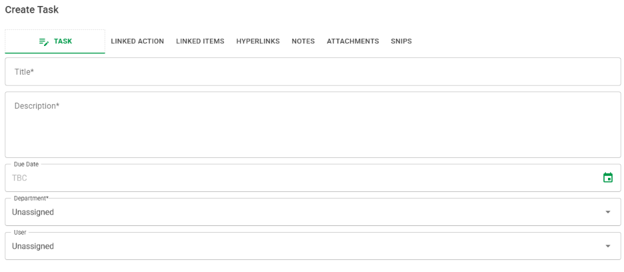
The user can name and describe what the Task is used for. ‘Due Date’ allows the user to set a deadline for the Task to be completed. The Task can be assigned to a user by selecting ‘User, with the option for ‘Department’ allowing the Task to be assigned to a selected department.
When all the above is finished, select  to create the Task.
Linked Action
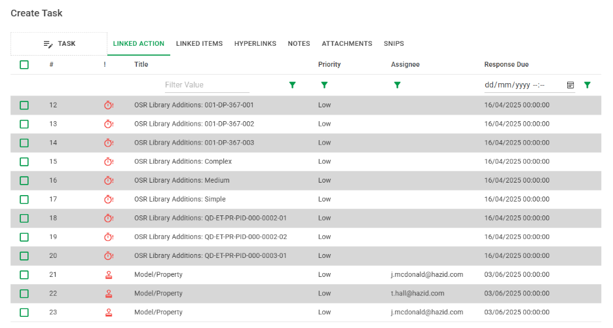
This tab allows for existing Actions to be linked to the current Task. Selecting a box on the left side of the tab will allow the corresponding Action to be linked to the Task. Actions within this list can be sorted using the filters available.
Linked Items

This tab is used to determine the items linked to the Task. Linked Items often consist of selected items within a drawing.
Hyperlinks
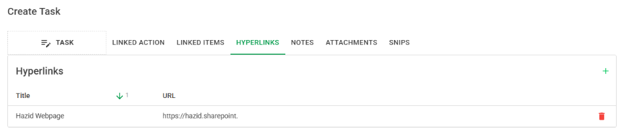
The ’Hyperlinks’ tab is used to create links to external files. Create a new link by selecting  the inputting the ‘Title’ and copying the ‘URL’ of the file. Use
  to delete any links when necessary.
Notes

Notes pertaining to the Action can be created here. When notes are created, the user has the option to add notes as well as delete them if need be.
Attachments
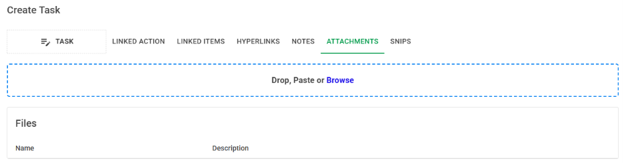
The ‘Attachments’ tab is used to attach files to the Task. Files can be browsed, then selected and dragged into the box. The list of files can be found within this tab, with the user having the option to remove files when necessary.
Snips
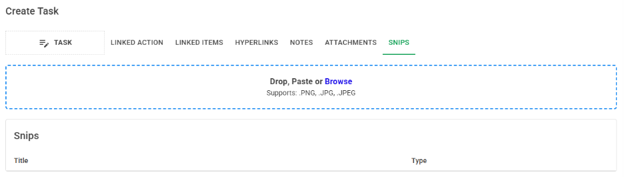
This tab has a similar function to ‘Attachments’, the difference being that this tab takes and stores images created using the ‘Snipping Tool’.
Application Tasks
Tasks can be created inside applications launched from the web; the process is similar to the way tasks are created in the web with a change to the UI element. From applications such as Drawing Editor and Data Editor you can create tasks by clicking the  button found in the toolbars, this will open the “Create Task form window.
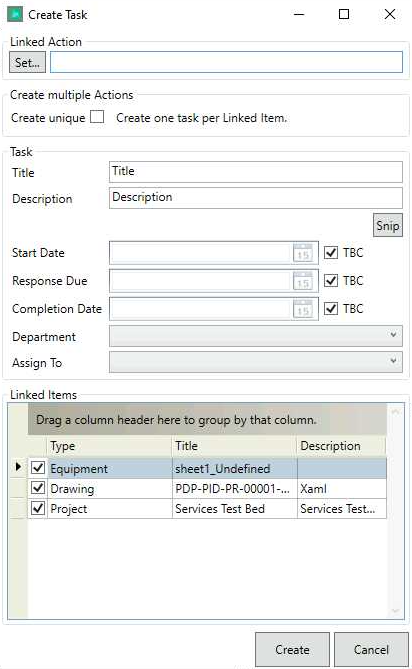
The user can name and describe what the Task is used for. ‘Response Due’ allows the user to set a deadline for the task to be completed. The task can be assigned to a user by selecting ‘Assign To’, with options for ‘Department’ allowing the task to be assigned to a selected department and project group.
When all the above is finished, select  to create the task.
Linked Action
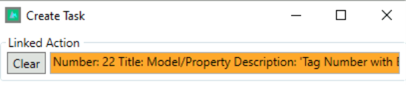
This function is used to link the Task to an existing Action. Select  to open the list of Actions to link the Task. Within the list, select the Action then select finish to confirm selection. To remove the Linked Action, select ‘Clear’
  .
.
Multiple Tasks

This option allows you to make a unique task for each linked item.
Snips
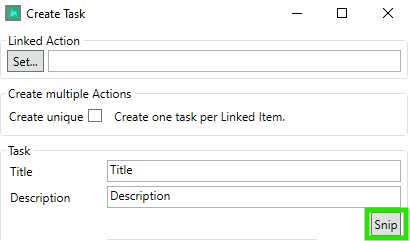
Snips is used to add snipped images to the new Task. This involves opening a Snipping Tool, taking a snip and attaching it to the new task.

Pressing the  button will open the add snip options:
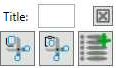
From here we define the name of the snip in the “Title” field, we open the snipping tool with the  button and paste the snip with the
  button and add the named snip to the action with the
  button.
We can add as many snips as we desire to an action and can review them in the snips section:
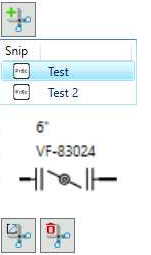
The remaining buttons allows us to open the snip  and to delete the selected snip
  .
.
Linked Items
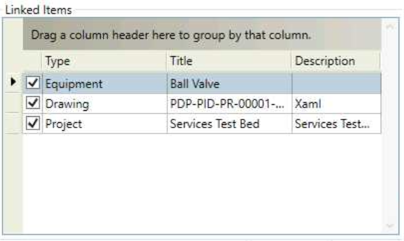
This tab details the selected item/s within Drawing Editor. The list within this tab details the item name, the drawing that the item is in and the project group that the drawing is in. Each of the item variables can be selected or de-selected when necessary.