SPPID Creation Tab
The SPPID Creation Tab holds the options that define the hybrid drawing creation during the batch operation process
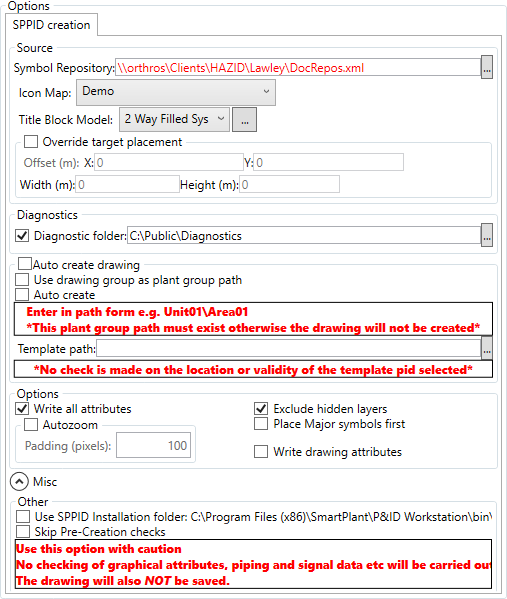
The first step of the SPPID Creation is to define the Source data
- Symbol Repository - The xml file that contains your SPPID symbol set, entered/pasted into the box or located via the browse button

- Icon Map - The Icon Map that matches Aurelia Models to SPPID symbols that you wish to use (defined in the Symbol Manager)
- Title Block Model - The model that should be used as the title block graphic in SPPID
- Override Target Placement - This allows you to account for discrepencies in the origin of the document x/y axes between the source and SPPID, by defining an offset and document size if required.
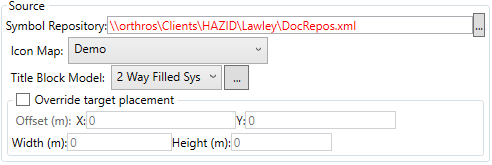
The second step is to set the Diagnostics folder and output if required
![]()
- Diagnostic Folder - The folder to which log files are written, enabled/disabled with the checkbox and entered/pasted into the box or located via the browse button
The third step is to define the automatic Plant\Area\PID creation options if required
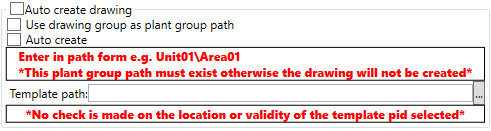
- Auto create drawing - This checkbox enables/disables the automatic creation of PID drawings that do not already exist in the SPPID draing structure
- Use drawing group as plant group path - This checkbox enables/disables the use of the Hazid Drawing Group folder as the plant group path into which the .pid is placed in SPPID
- Auto Create - This checkbox enables/disables the automatic creation of th eplant group structure in SPPID
- Template path - This field is where the SPPID .pid drawing template to be used during the creation process is defined, either entered/pasted into the box or loacted via the browse button
The forth step is to set the creation options

- Write all attributes - This checkbox enables/disables the writing of all aliased attributes for items on the drawing from aurelia to SPPID
- Autozoom - This checkbox enables/disables the automatic zooming in of SPPID as items are placed - this is useful for ensuring that items appear in the correct order and are correctly connected on complex drawings where the interal rules of SPPID can prevent this from happening. The "padding" setting defines how magnified the zoom is.
- Exclude hidden layers - This checkbox enables/disables the exclusion of hidden layers in the creation.
- Place Major symbols first - This checkbox enables/disables the placment of Major symbols first onto the SPPID - this is useful for ensuring that Major items appear in the correct location on complex drawings where the interal rules of SPPID can prevent pipes from being automatically drawn.
- Write drawing attributes - This checkbox enables/disables the writing of the "drawing" attributes such as drawing name, sheet number, created by, etc...
There are two miscellaneous options in the final panel
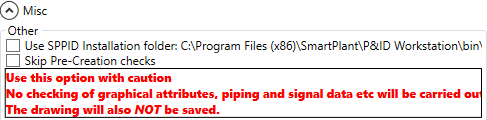
Use SPPID Installation folder - This checkbox enables/disables the use of the default SPPID installation folder Skip Pre-Creation checks - This checkbox enables/disables the skipping of the checks that are run before the drawing is pushed into SPPID.