Model Configuration Rules
Model Configuration rules are a structured list of engineering reasoning which you can add to Hazid Integrity. These will allow Hazid Integrity to interpret the P&ID drawing in a similar way as the human engineer will determine the function and purpose of items and process rational that is not explicitly stated on the P&ID. Such as Process Flow, Valve states etc.
The Model Configuration should be added to whenever a new scenario or configuration is introduced that Hazid Integrity may not be aware of. Doing such allows you project to be set up almost completely automatically reducing valuable engineering time retrieving your P&ID Integrity and Process Safety results.
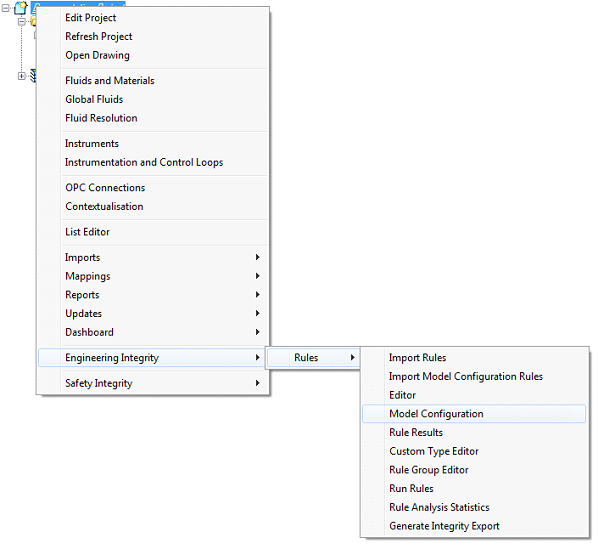
Model Configuration Rules are created in either the Model Library or Project, and are accessed via the right-click menu on the Project under Engineering Intergity>Rules>Model Configuration, or the right-click menu on the Library root, under Rules>Model Configuration. These are separate locations, in order to transfer rules between them see Importing Rules.
This opens the Model Configuration Rules editor:
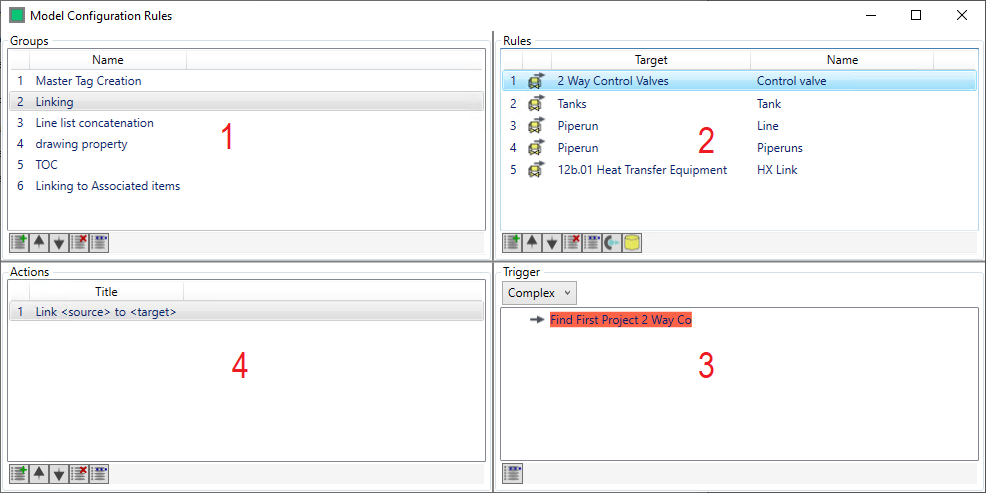
- Rule Groups - Model Configuration rule groups are listed here. Model Configuration rules can only be run as a group, so separate groups should be created for different purposes and document types. Selecting a rule group displays the rules within it in (2).
- Click
 to add a new rule group.
 - Click
 to reorder the selected rule group. This will affect the order in which operations are performed when multiple groups are selected to run.
 - Click
 to delete the selected rule group.
 - Click
 to edit the selected group name.
- Click
- Rules - The individual rules within the group are listed here. Each rule is mapped to run on items of a particular model or model group. Model configuration rules cannot be run on unmapped items.
- Click to add a new rule.
- Click to reorder the selected rule . This will affect the order in which the rule actions are performed.
- Click to delete the selected rule.
- Click to edit the selected rule.
- Clicking
 adds an Auto-Mapping Instruction, this makes all the viable connections in the system automatically, and is used in stages to fully map a Mechanical plant representation tohe process within the plant, for example once a pumps outlet has been set, then an Auto-mapping instruction will set all of the items downstream of that pump (up to the nextajor equipment item) to have their in and out ports in the same flow direction.
 - Clicking
 adds a Database Commit instruction, this ensures that changes are written before the next rule is run.
- Click
- Trigger - This is where the criteria to run the rule selected in (2) are defined. Click or double-click to open the trigger rule structure
- Action - This is the action to be performed on items that pass the trigger.
- Click to add an action to the selected rule.
- Click to reorder the selected action.
- Click to delete the selected action.
- Click to edit the selected action.
- Click